A bit of knifemaking
Lately I was remembering good old days when no even thing was going bad, no bad news, no worries or anxiety. And I’ve found some photos of the knifemaking process and here’s small article about. Hope you’ll enjoy reading this piece of text.
Drawing
Everything starts here when your idea is embodied on paper. Mostly it depends on what and for whom you’re doing. It could be some small cute knife for the corresponding girl, could be large and frightening cleaver for big bearded biker.
So here we start. Rather boring thing to look on a blank piece of paper. But don’t mind we’ll fill it up in a few following minutes. The main thing start from the simple set of drafts and ideas which you want to implement to follow style. So the main idea was to draw this kind of witch knife with runes, blue-lilac wooden handle, filework on a blade and so to make it look magic.
So here we start with plain knife sketch in single projection. and bunch of ideas. To get the look we want it to has. And after few hours of drawing we get such draft which we can base on to make drawing. It will be messy and it will not be that detailed. But the only necessary things would be displayed there.
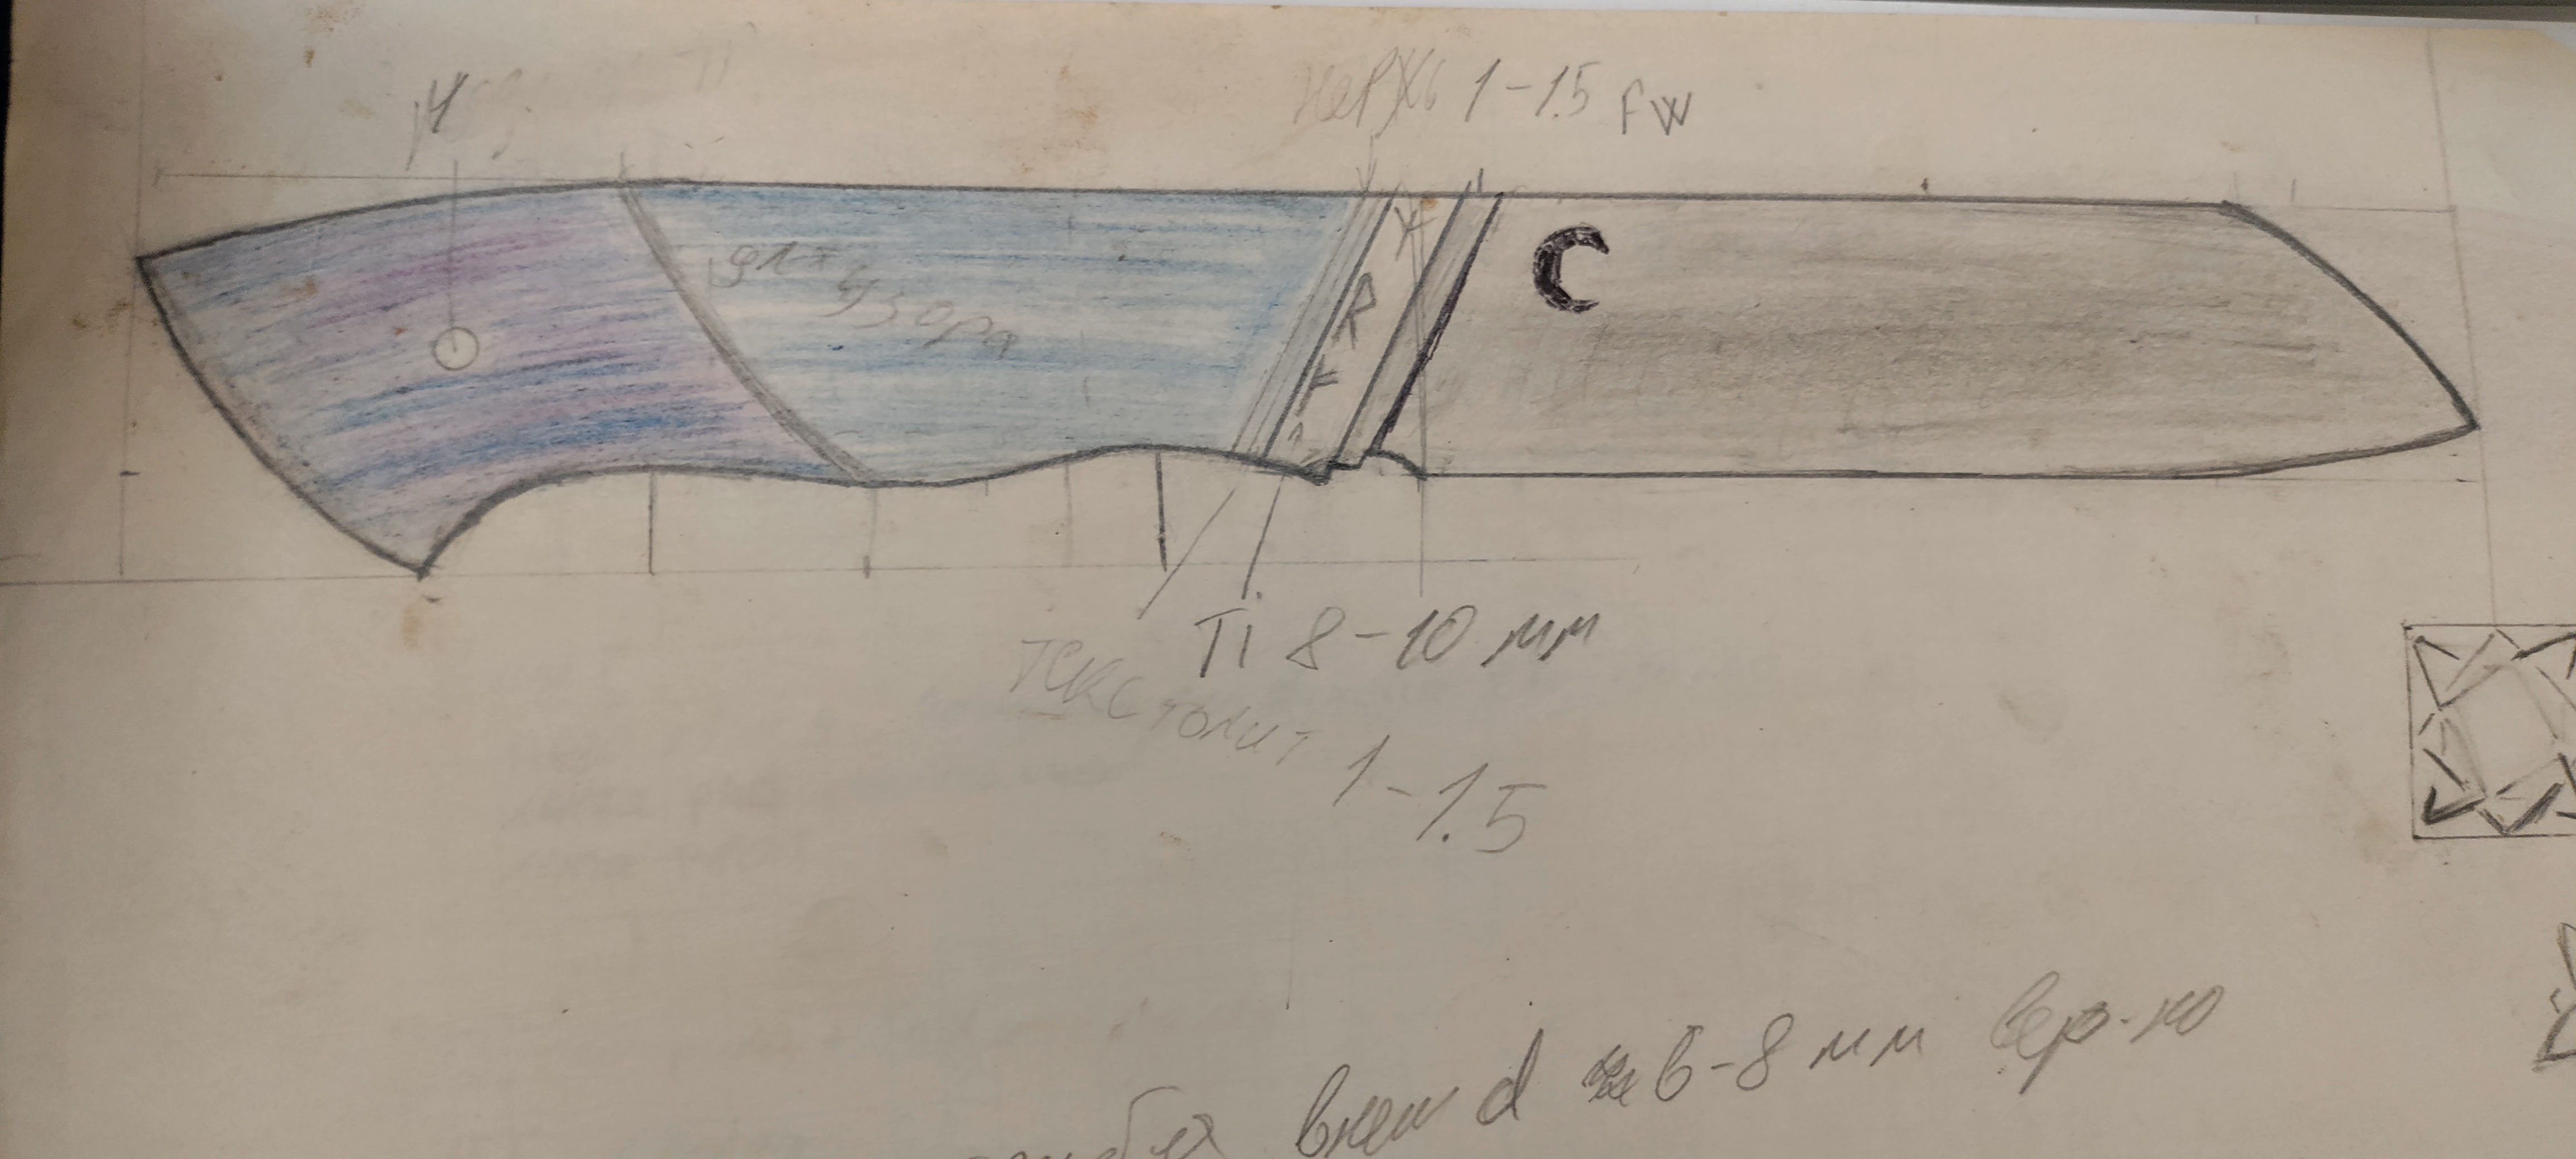
We can start making it just from here but it will make things harder. If we’ll have any part in all necessary projections and their’ dimensions to check whether we’re moving in a right direction it should be easier to work. And even easier if they’ll be digital as we’ll be able to edit them with ease and print as many as we want. And here after moving things into the CAD we get the drawing with all the details necessary.
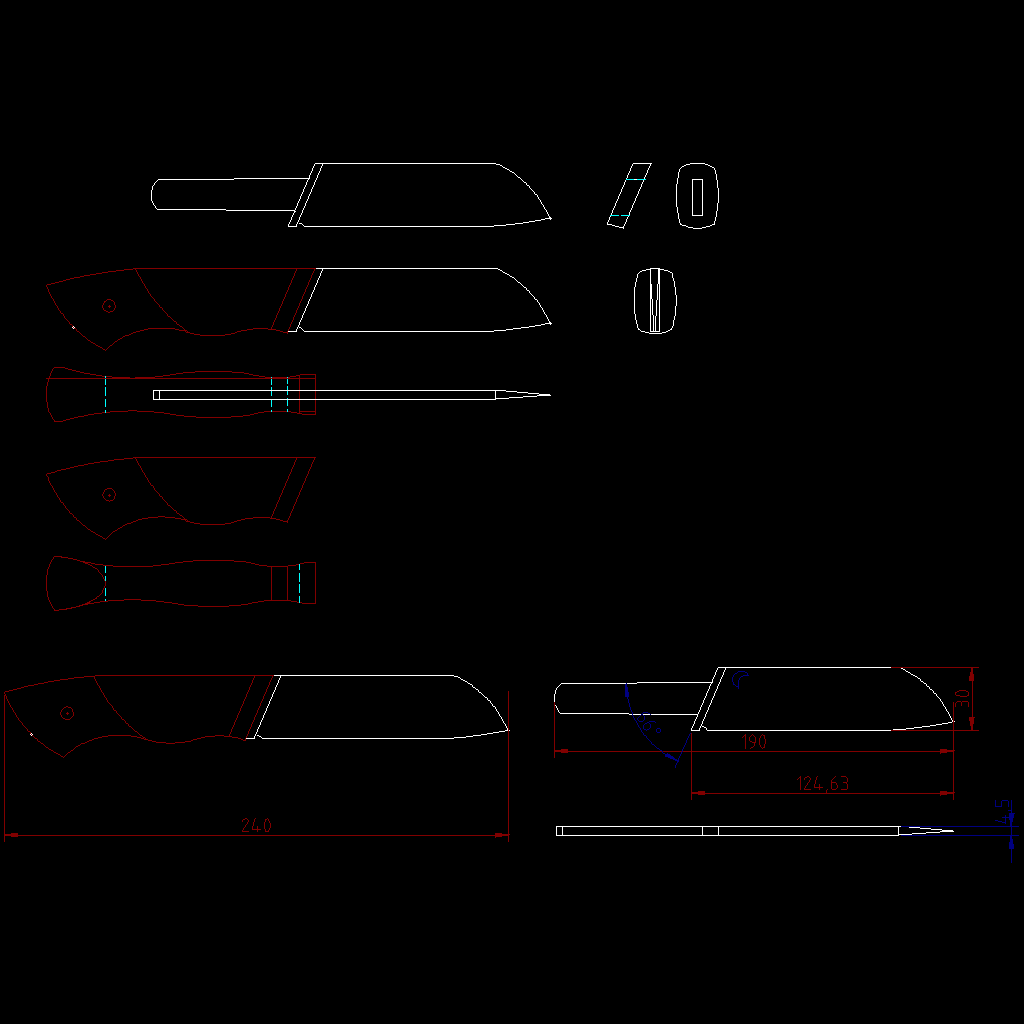
So here we start ordering materials, tools, consumables like grinder belts and so just to get started. And at this step it would be great to consult with those for who this work would be done whether this design is suitable. Just to clarify. And just as a nice surprise design should be thrown and redrawn from scratch. And after than we get the second draft iteration.

Usually it’s completely different. If in first iteration you had wharncliffe in second you’ll get drop point or even tanto. You’ll get rid of the most of ideas you wanted to get into the first iteration and so. But I assume you can see by your own.
Only at this stage you can start ordering all necessary to start work if it’s not present yet.
So called “Real work”
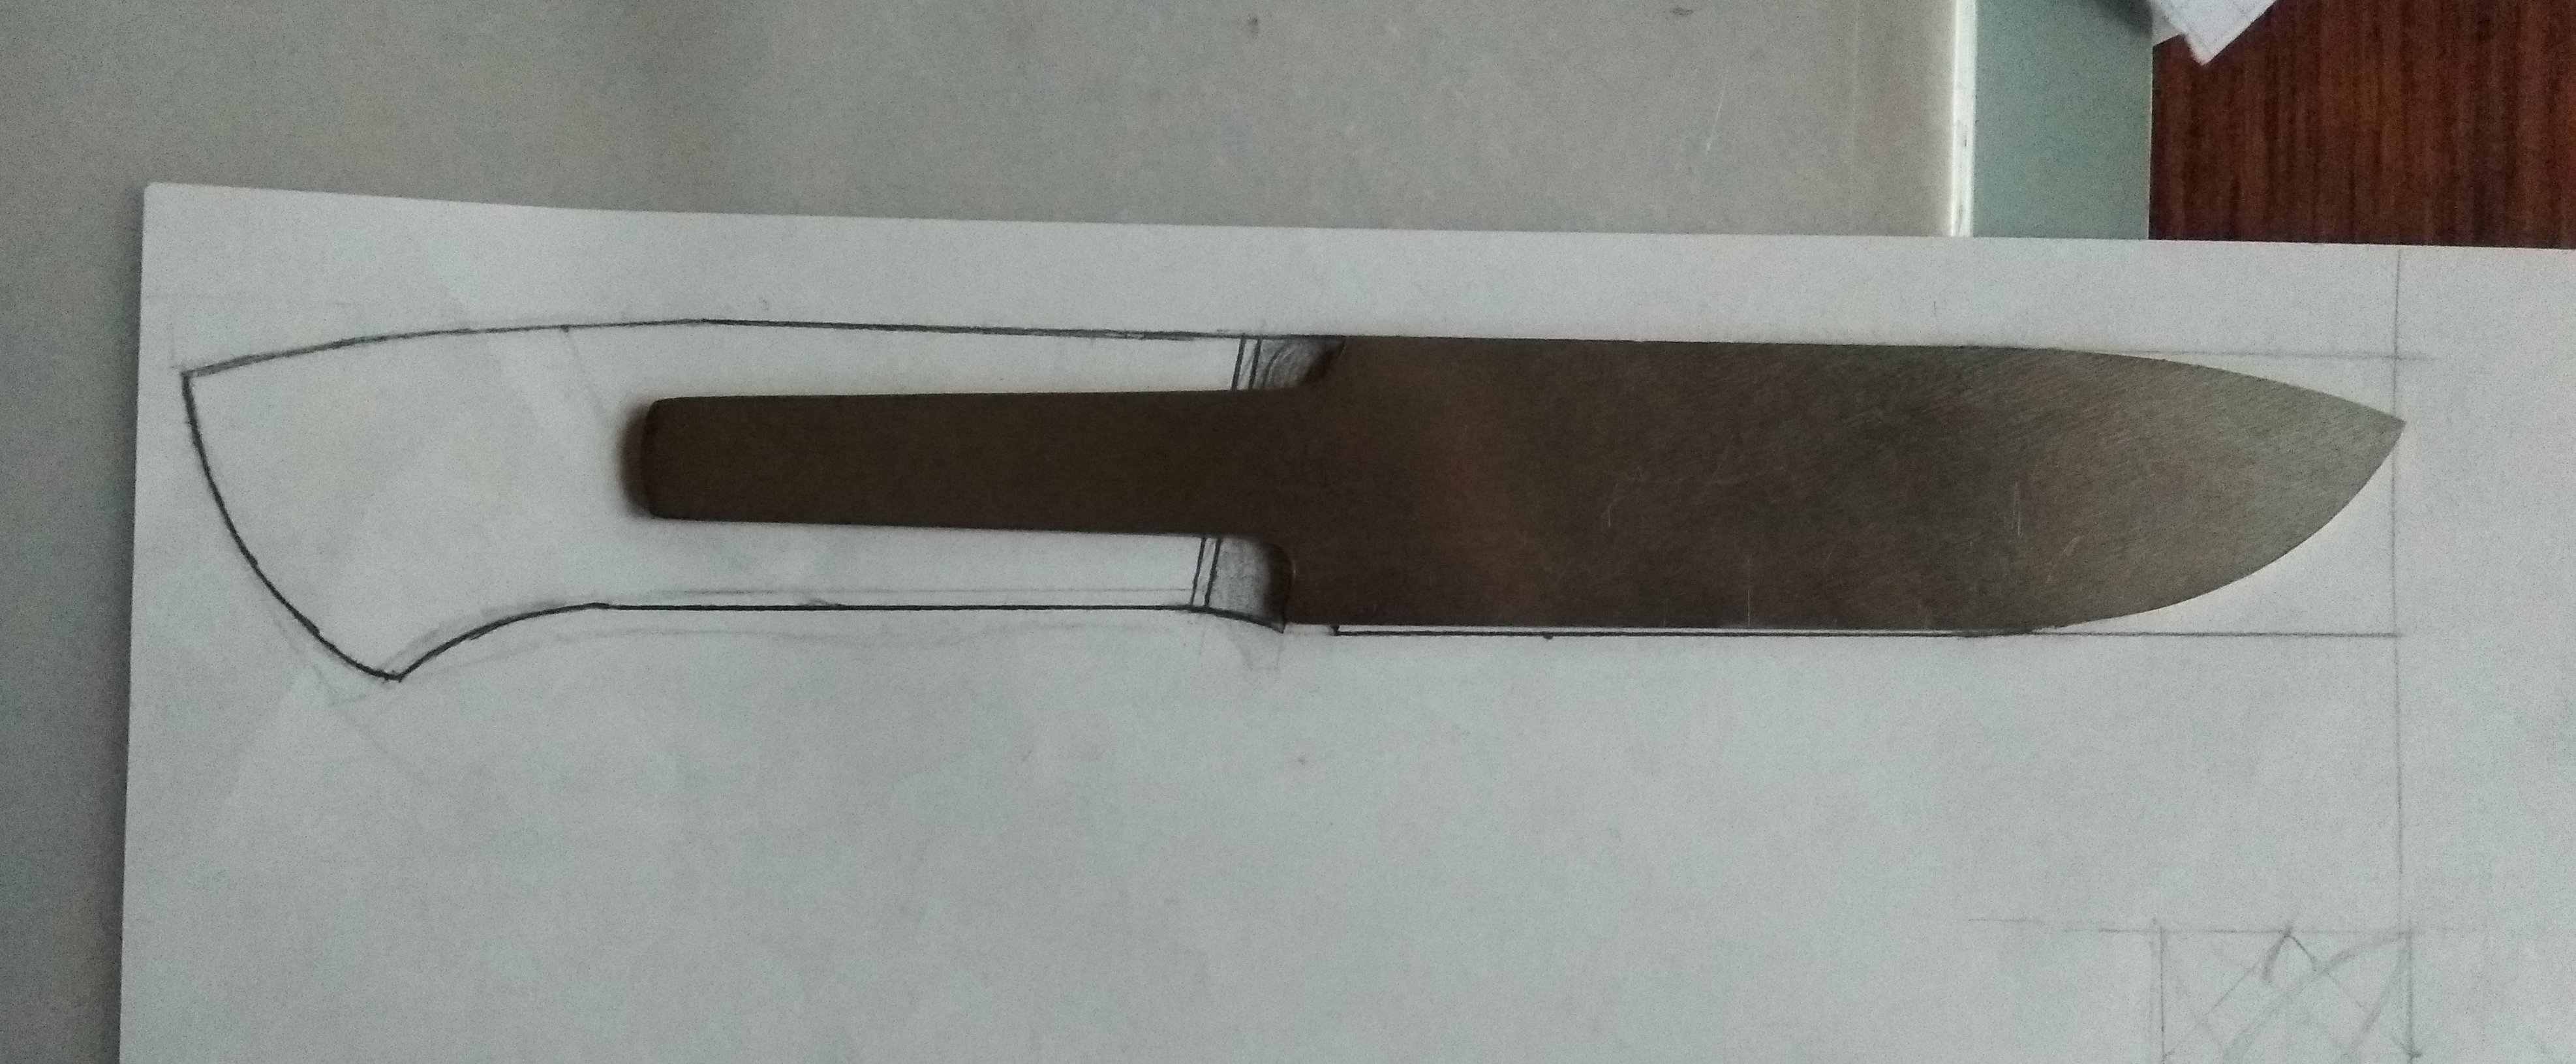
So after all has been delivered we can start doing things. At least out of paper. Yeah just printing paper which you can find in any office. The main point for it is to make templates for further work. Templates are easiest way to get shape from paper or CAD drawing to the piece of metal or wood. And they’re reusable. In some time you become the template monster if you don’t throw them out.

Here template is already transferred but I assume you’re smart enough to guess how is it done.
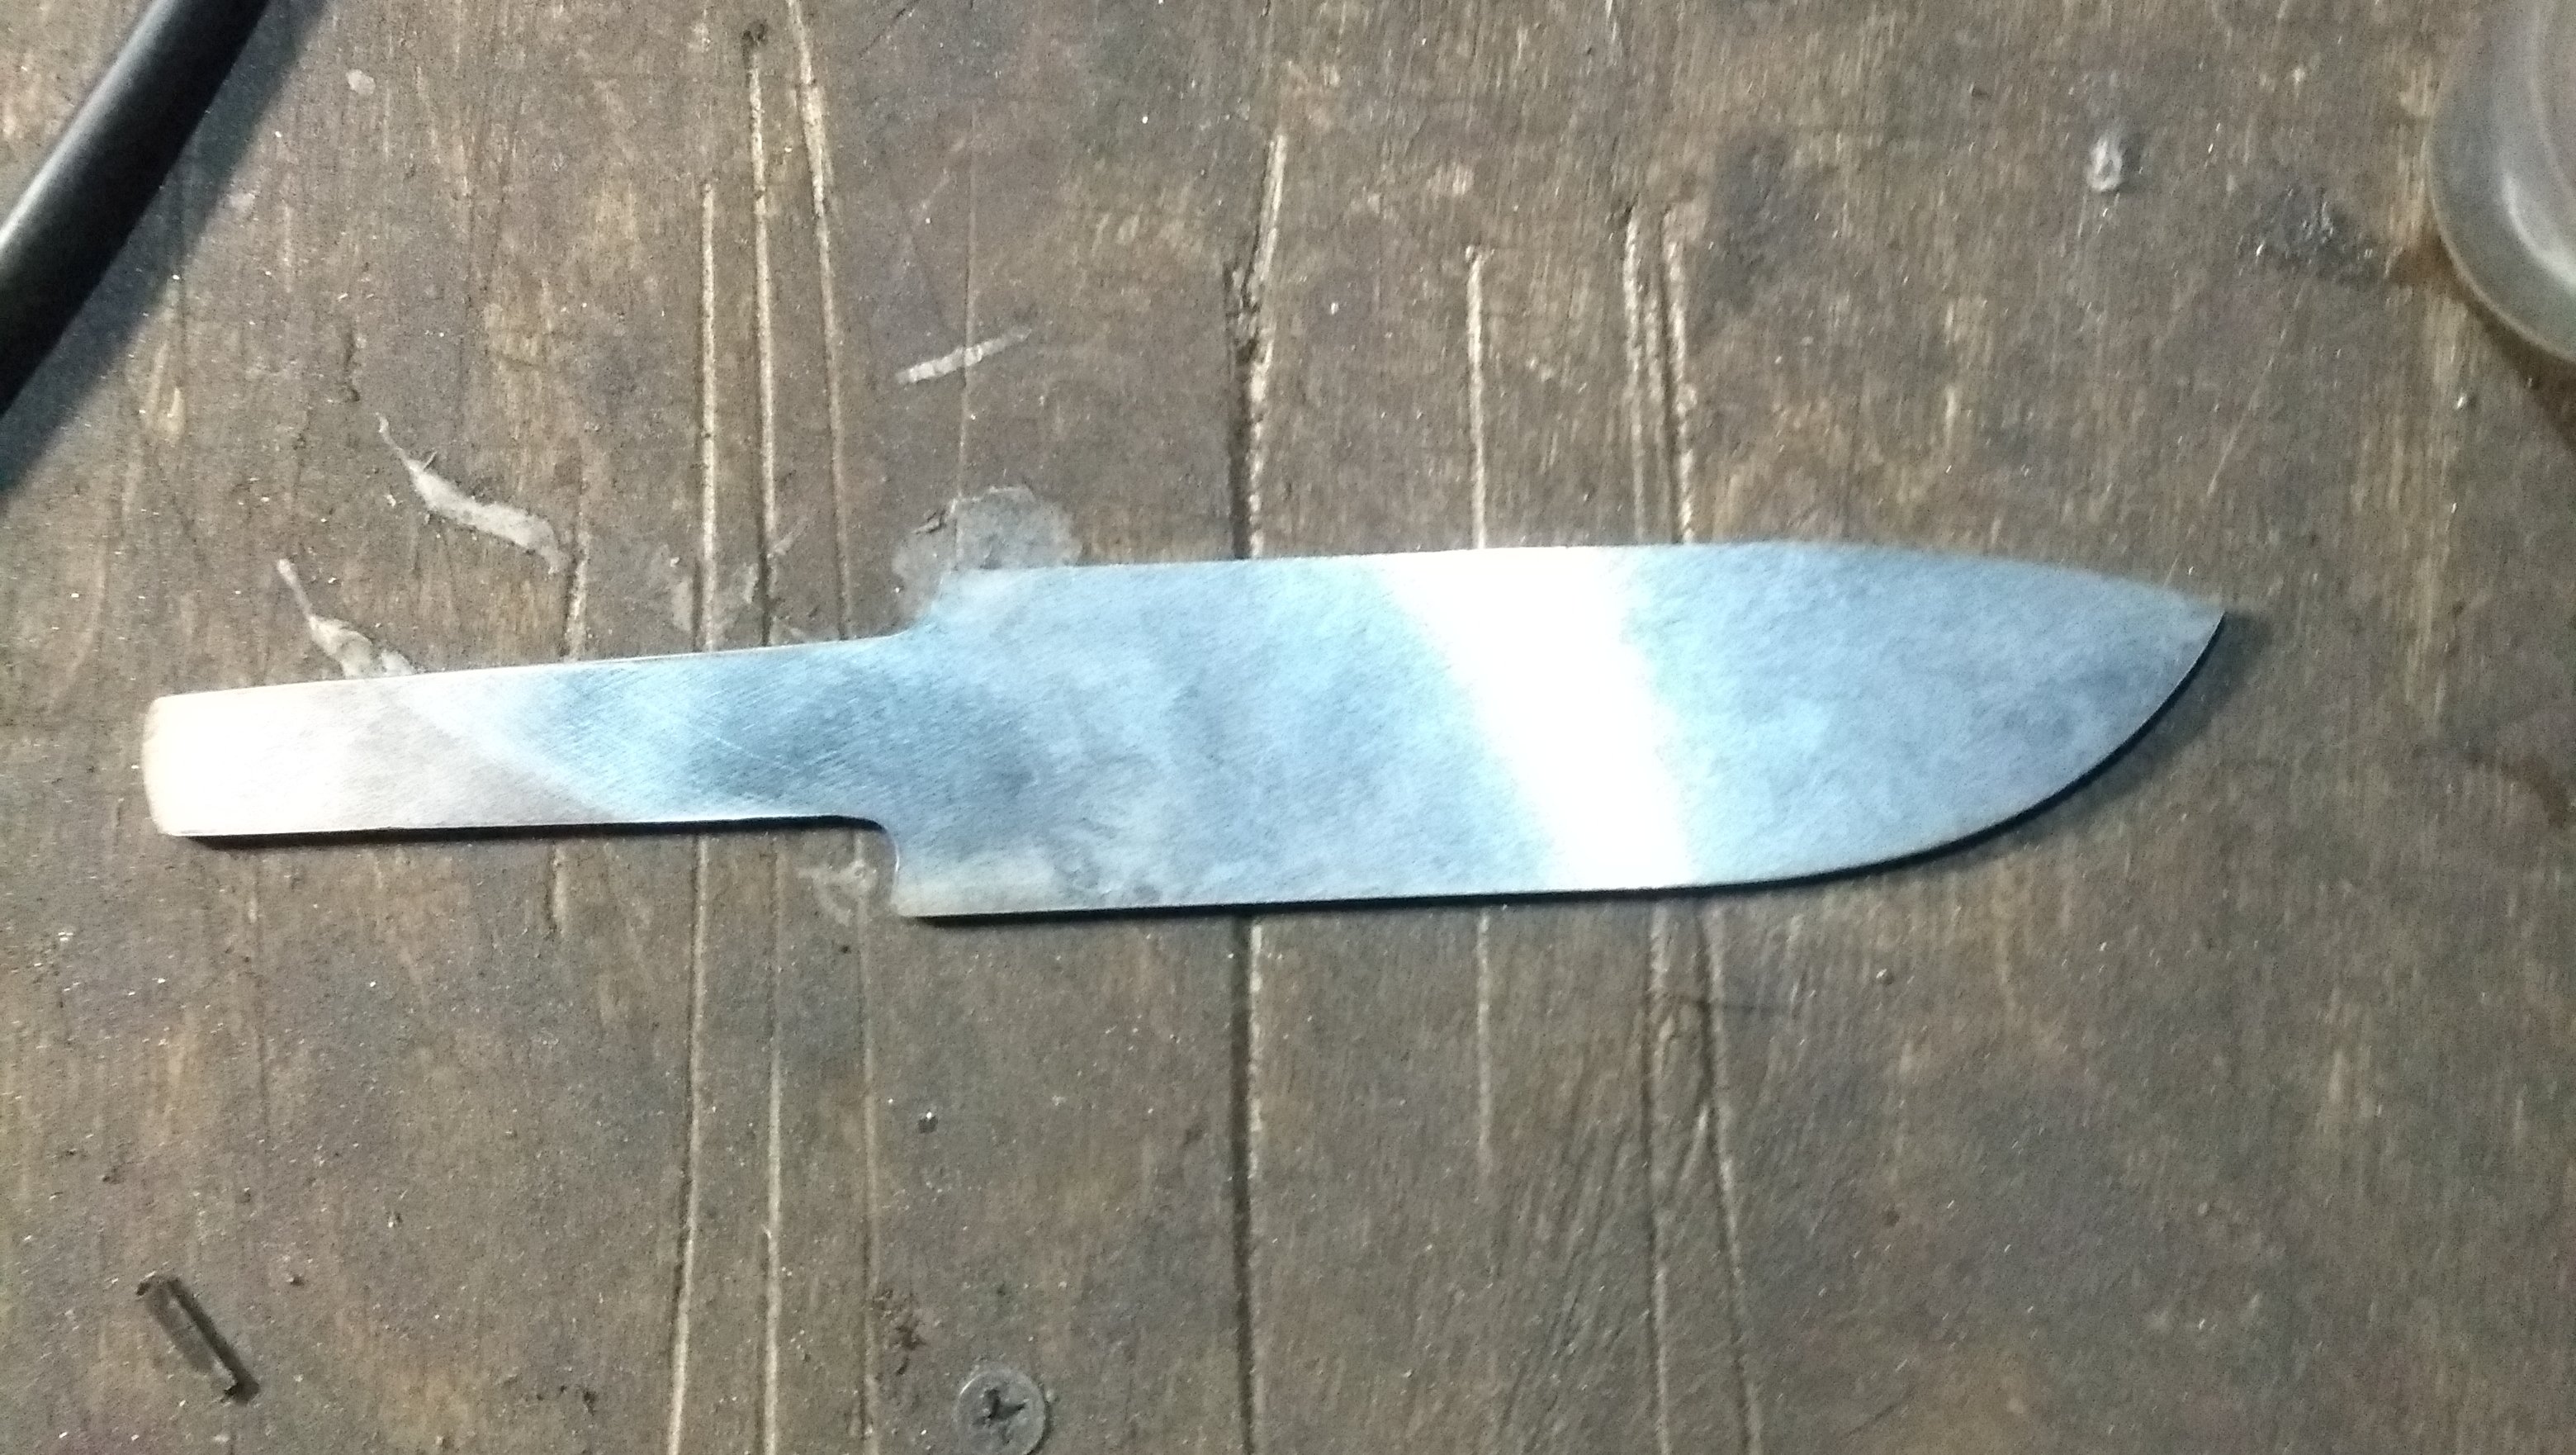
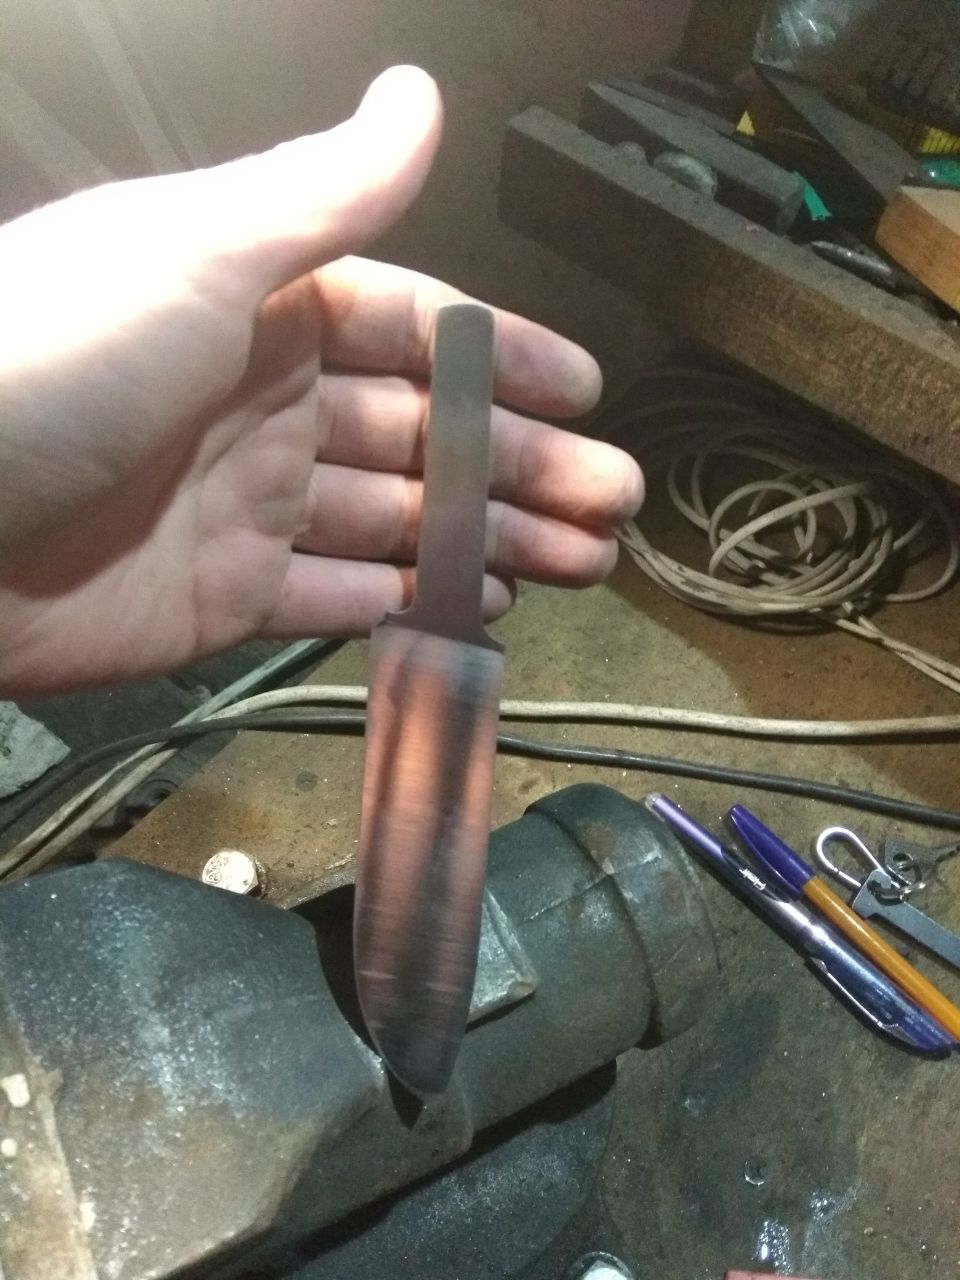
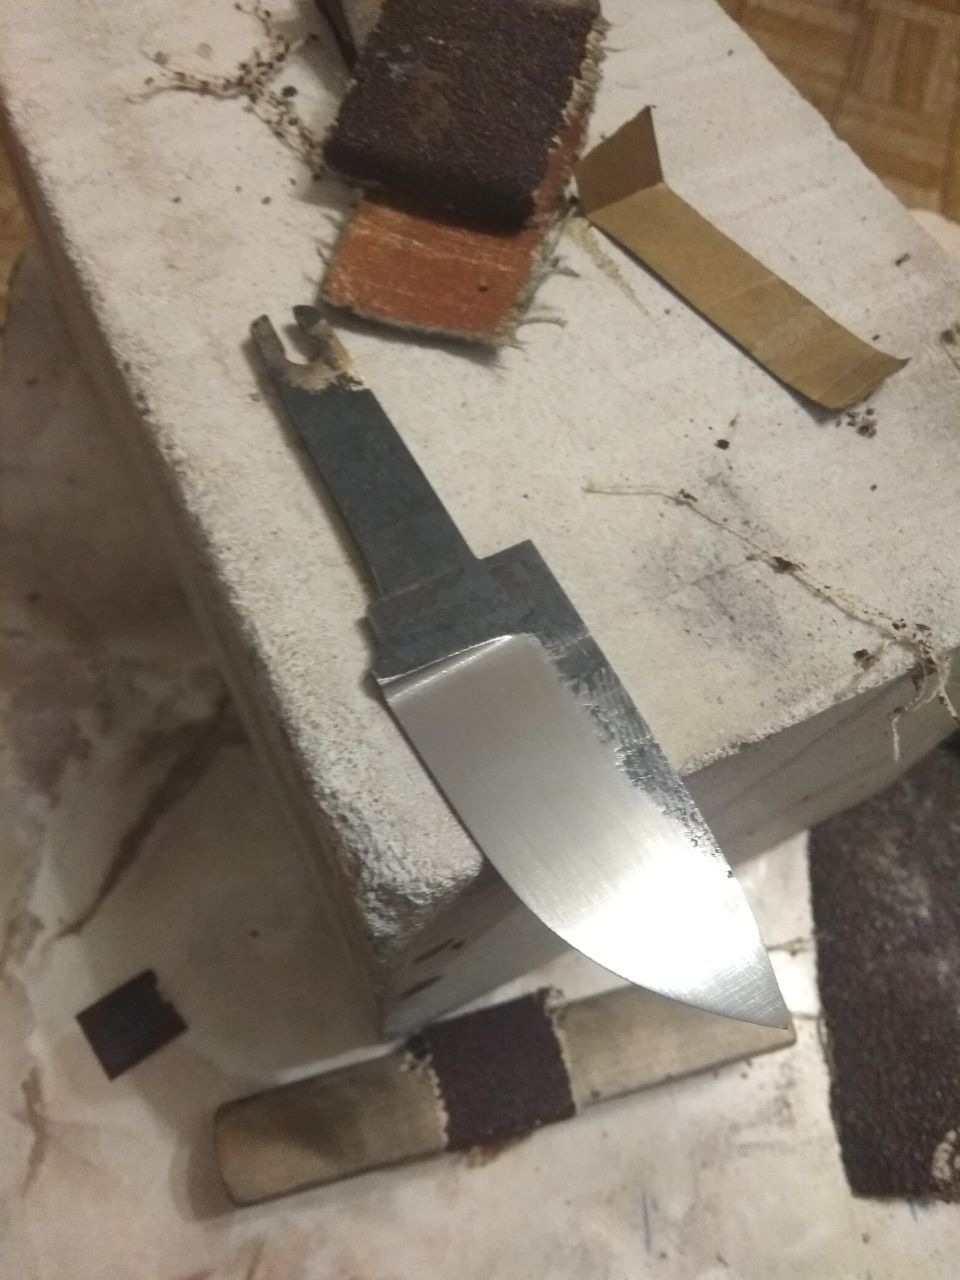
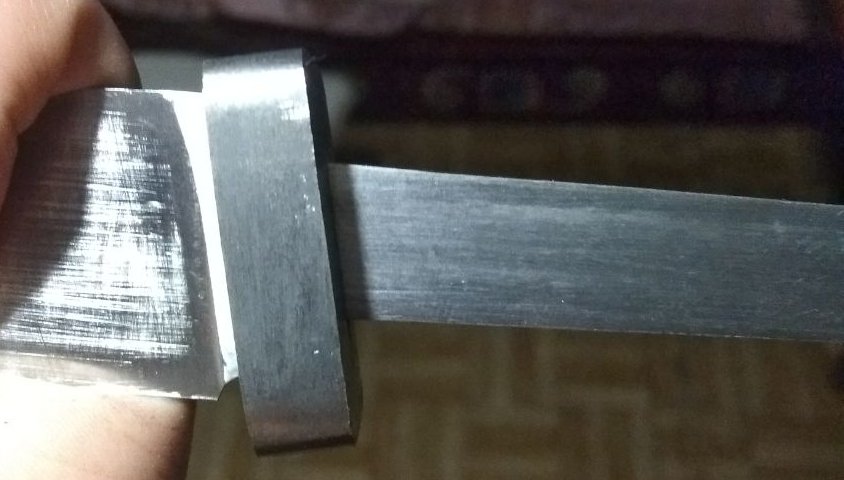
Now when we’ve all the things ready to start it’s time to get blade out of the blank. In most cases it’s done in a rather boring way by cutting all the extra material out to achieve the approximate blade shape with a lot of cooling not to spoil hardening. And when we’ve got the approximate shape we can start getting it to the wanted accurately grinding out all the extras on belt grinder. And we’re getting the result with precise shape.
And one more on drawing
Beveling
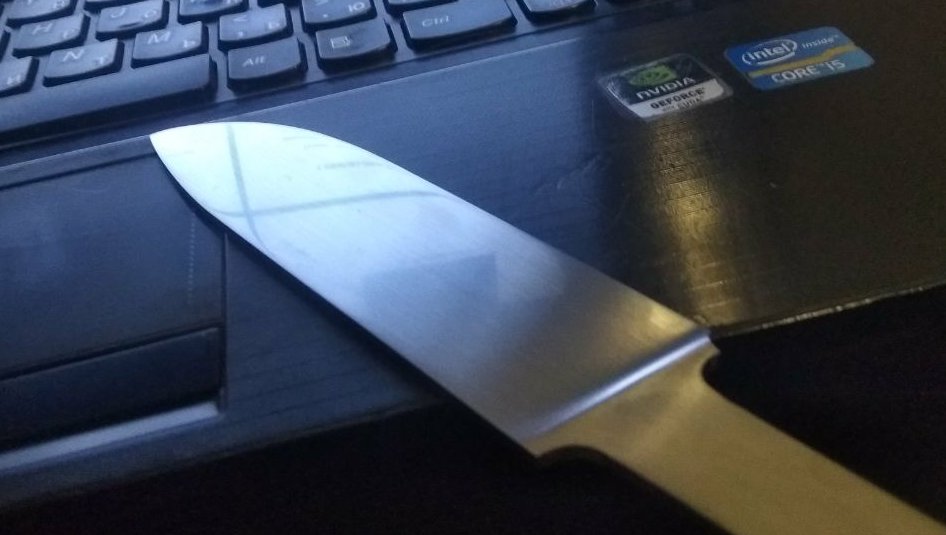
And here we go with making knife look like a knife. Or more specifically beveling. The bevel so called is just and angle made on blade to make knife cut with ease. You can find it on drawing in frontal projection.
This kind of things are mostly done on belt grinder and take some time to make it look good. And not rather impressing result is bellow.
Polishing
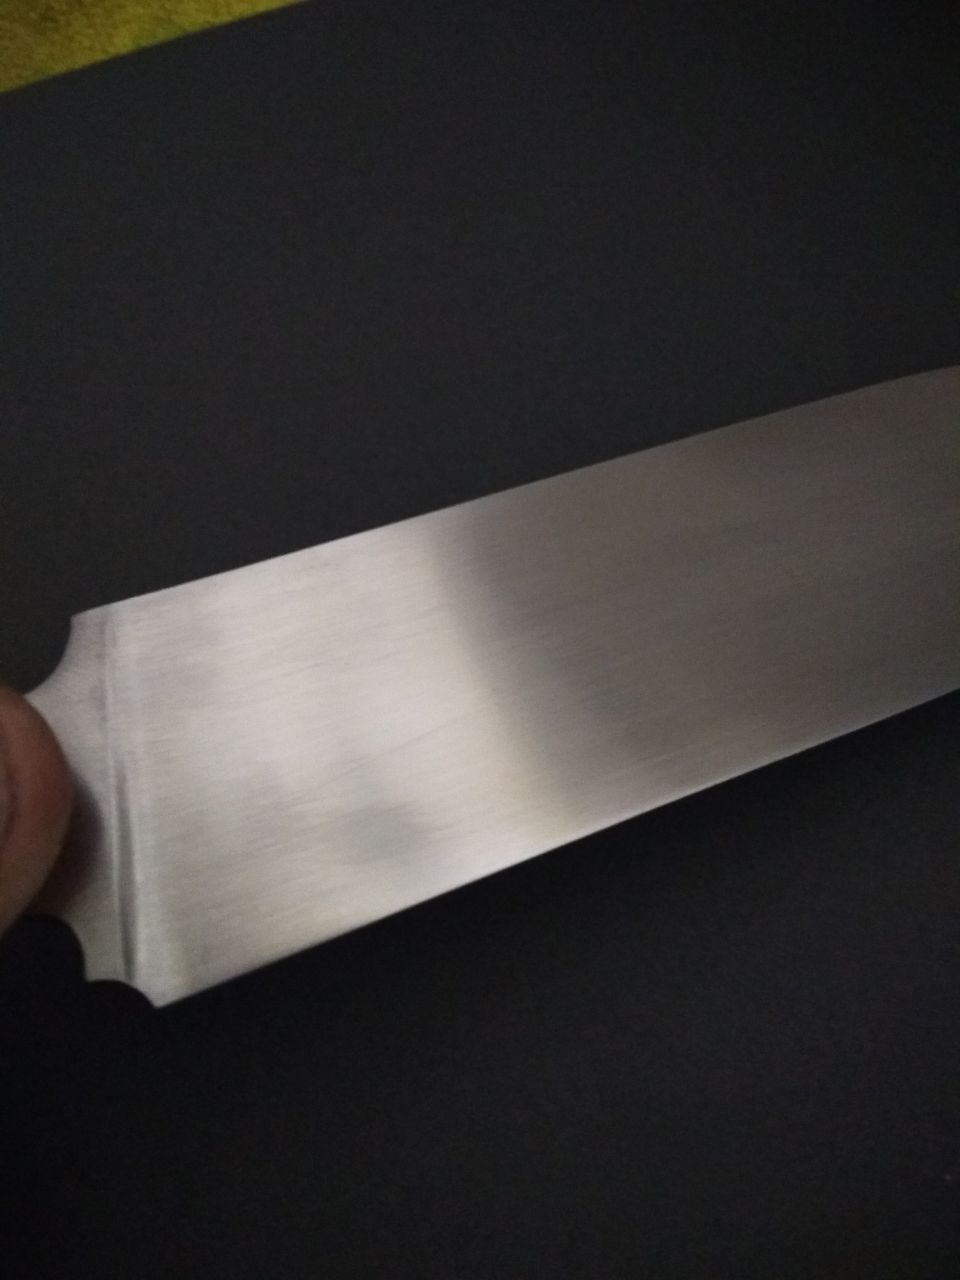
It takes a lot of time to get it looking pretty as we’ve a lot of deep scratches on bevel. And that is one of the best part of the process. As you can take tea, and meditate a bit while grinding scratches out with sandpaper.
 Just some other photos of polishing of another blade
And here’s an a result.
And all that things just to sand this polishing out getting nice satin. It’s rather hard to understand it by only photo but I hope you’ll get into by the end of the article.
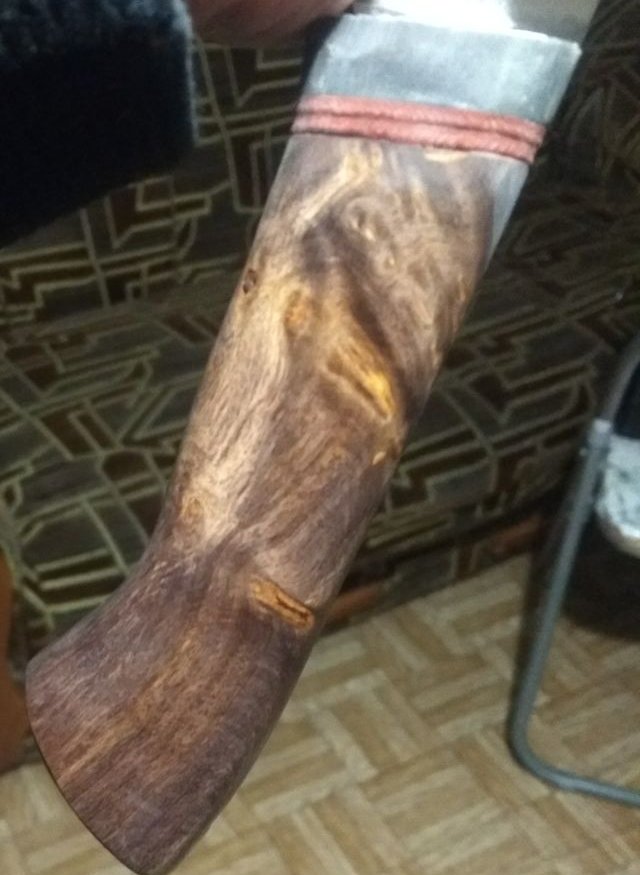
Starting out with handle
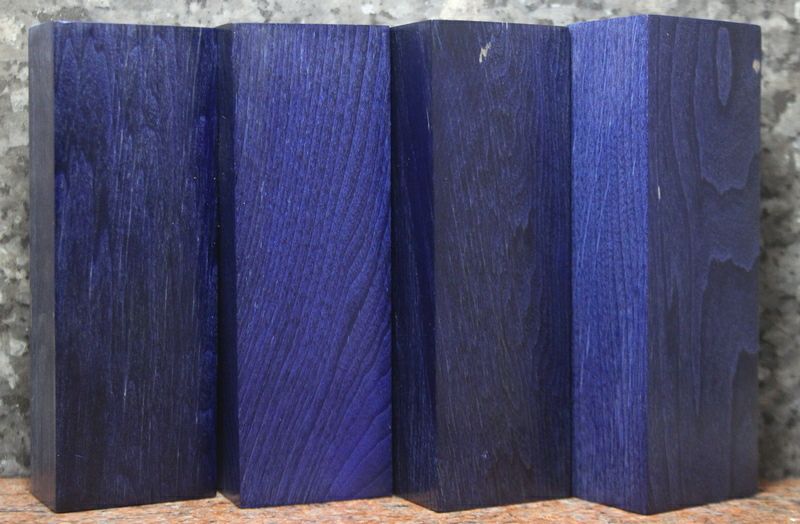
So time to show materials has came. After clarification with customer here’s the resulting and discussed wood for it.
 Here’s what have we discussed
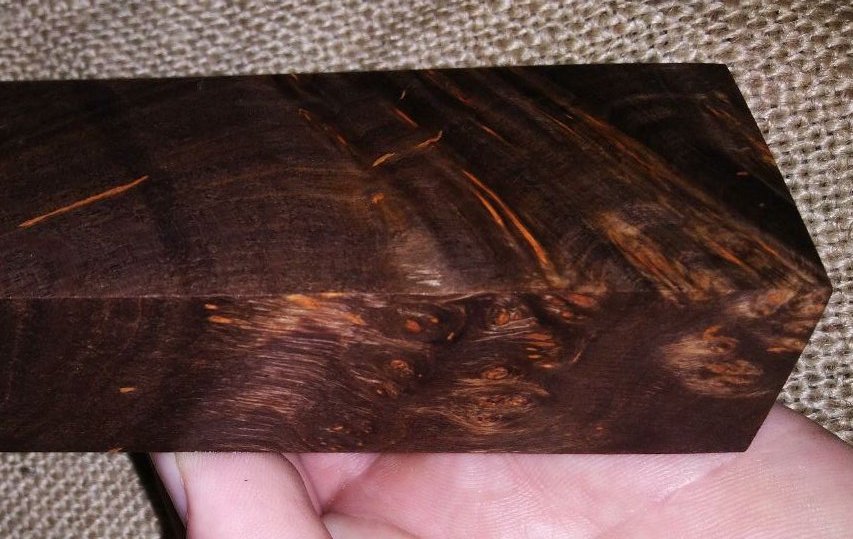 And what have we got.
Nevertheless. It’s time to start with a handle. We need to get this block of wood to the nice and smooth handle. And it starts with getting bolster on a blade. And things get harder due to the fact that it’s angled. Bolster it self is small piece of another that handle material precisely put to the blade with no gap in between. It starts by getting it to the blade some how. Mostly by drilling out most of material and getting out all other by filing it out to get nice rectangular hole for a tang.
 And after few hours here it’s.
After it’s there it’s time to get it looking better than blank piece of titanium. It was decided to make it a lot of small bents on it. Just like that.
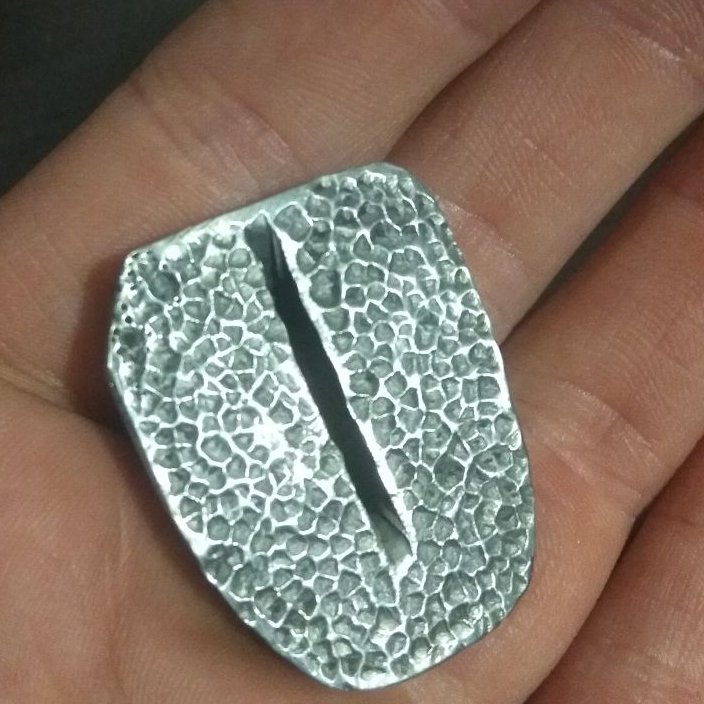 Just something like this. It was rather funny I can admit.
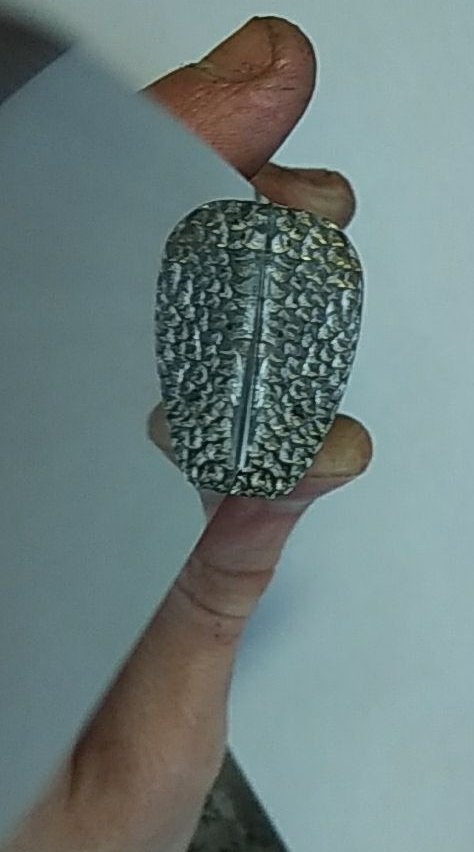
And now when we have bolster already there and decorated we can put handle on.
As we’ve our wood just as a block we need to get it to the shape of handle. Unfortunately no photos has left of getting it into the right shape. But result is here.
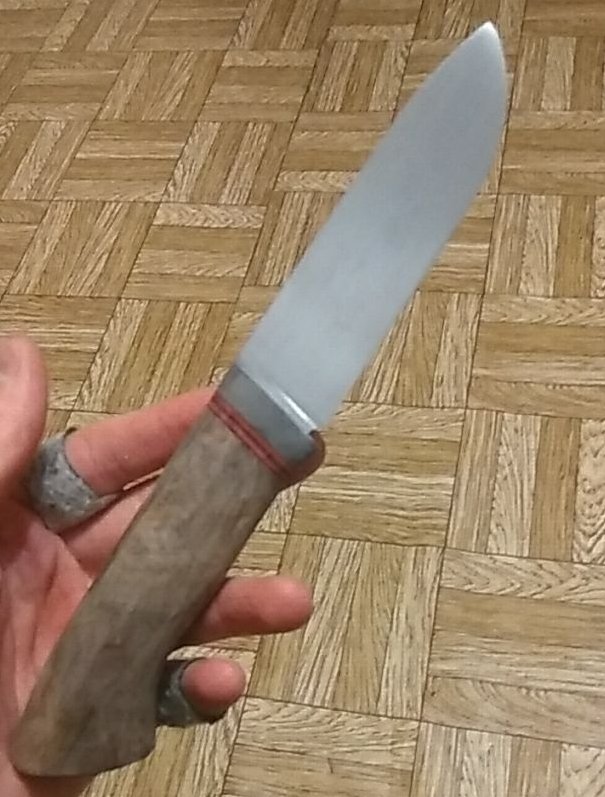
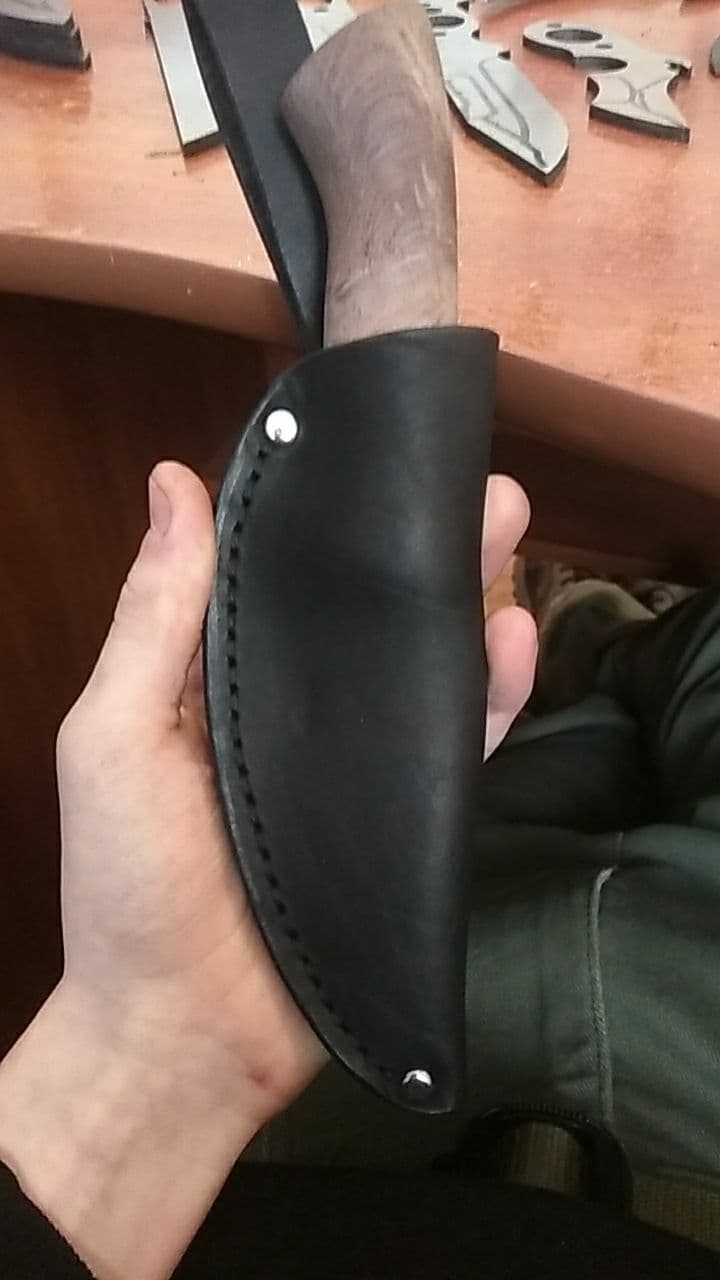
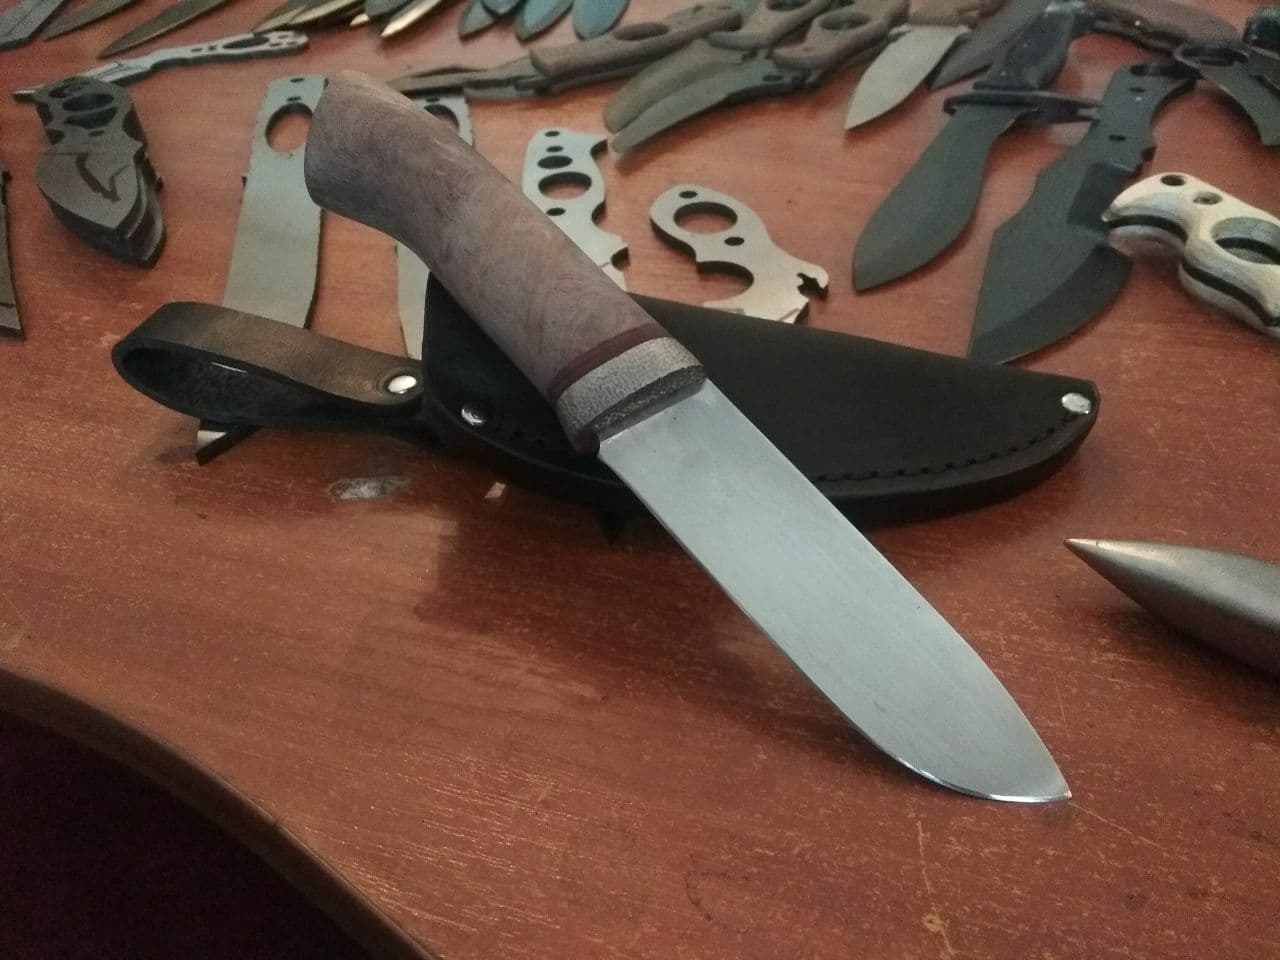
Finish line could be seen already. Only things left is to finally decorate, coat with oil and sharpen it.
And the result of all the things!